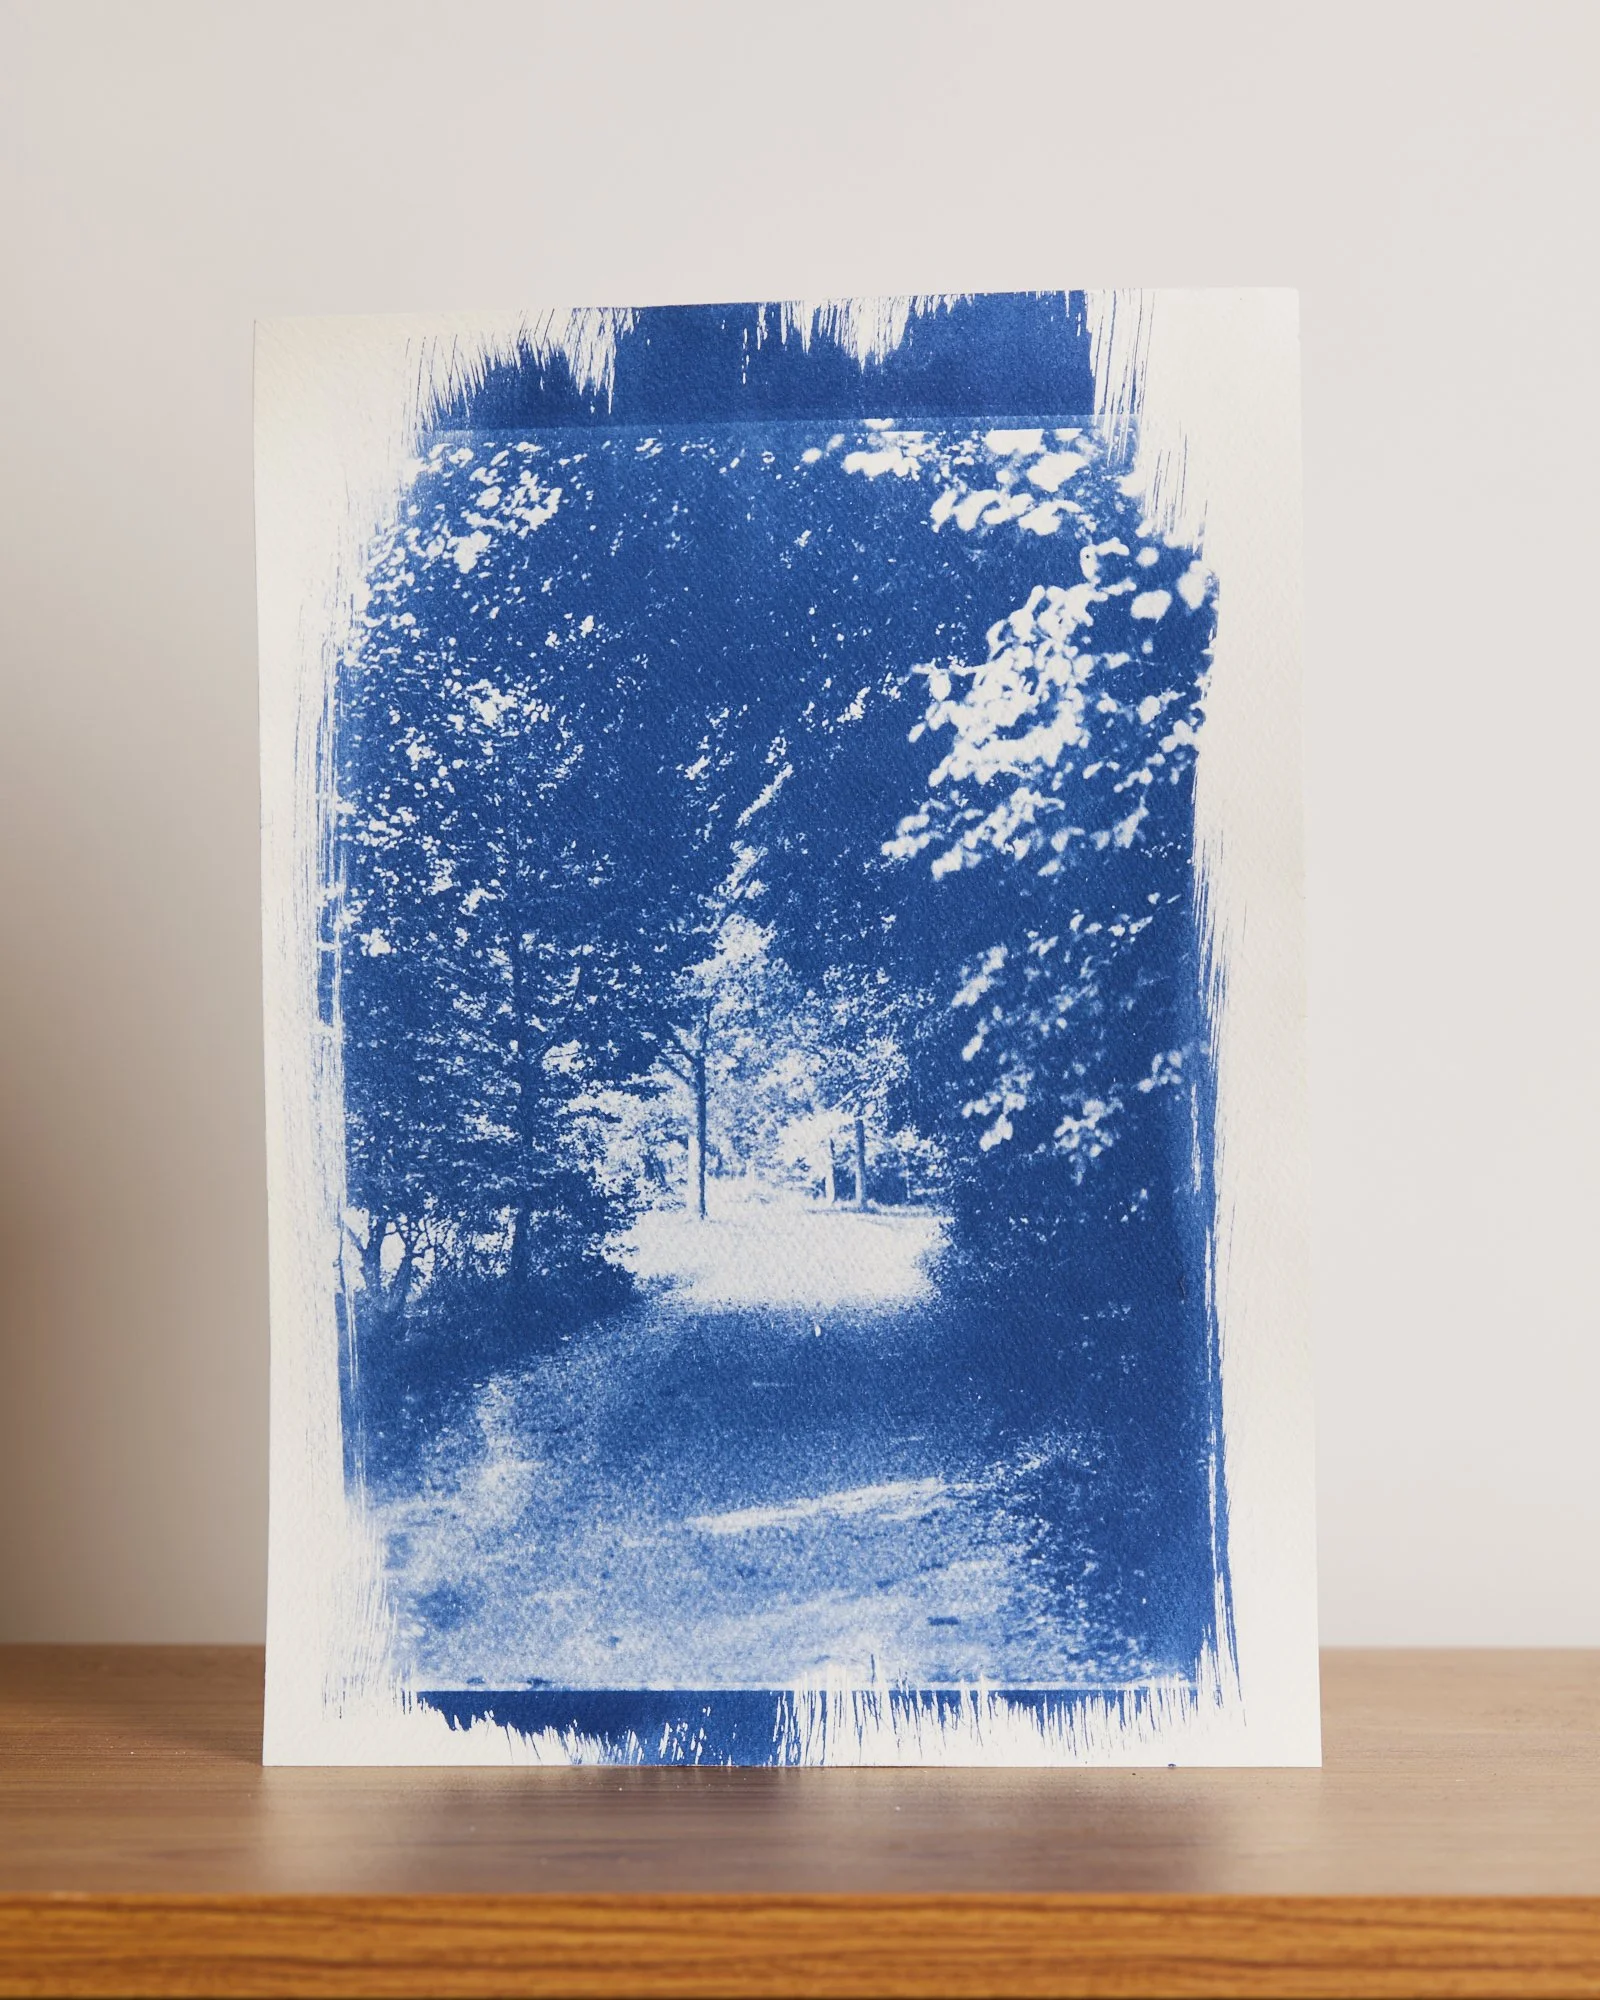
The following images are from the “Cyanotypes by Jonathan Gordon” exhibition at Stemmerhof Studios in Munich, which were shown from the 7th to 9th of October 2022.
For any purchasing enquiries and/or if you would like any of the loose prints framed, please get in touch and I’d be happy to help. mail@j-gordon.com
For a short description of the history and technique of the cyanotype, please scroll to the bottom.
For more information about the images:
computer- hover over picture in gallery view
mobile- click on picture and then the small point at the bottom right.
History
The cyanotype process, also known as the blueprint process, was first introduced by astronomer, John Herschel (1792 – 1871) in 1842.
Herschel managed to create lasting images using hyposulphite of soda as early as 1839. In the early days the paper was coated with iron salts and then used in contact printing. The paper was then washed in water and resulted in a white image on a deep blue background.
Fun fact- aside from the cyanotype process, Herschel also coined the words photography and snapshot.
Herschel did not use the cyanotype process for photography, but for reproducing notes. It was a family friend, the botanist Anna Atkins, who first employed the process photographically and went on to produce three books of plants and algae from 1843 to 1853.
Using the process which we now call a photogram, she placed objects directly on photosensitive paper and exposed them with sunlight.
She is widely considered to be the first female photographer.
The Process
The cyanotype is made up of two simple solutions; potassium ferricyanide and ferric ammonium citrate. Each is then added to water and mixed in equal parts for a working solution.
For best results, watercolour paper is recommended which is coated with the solution using a foam brush. Other brushes may also be used to create different effects.
To make a photographic print you need a glass plate, film negative or digital negative (scanned or digital image inverted and printed on acetate) which is then placed under a sheet of glass or contact printing frame and exposed to UV light, either using sunlight or an artificial UV light source.
Once exposed, the print can be revealed and completed with a simple water bath. The contrast of the image will increase whilst drying but in order to see the final contrast whilst still wet, you can add hydrogen peroxide to the water. After drying you are left with a finished cyanotype, a dark blue monochrome image.
After that, there are multiple toning options, either using tannic acid, black tea, coffee or even red wine. Depending on the substance used, you can tone the image to achieve sepia, black and white, yellow or purple results.
It’s one of the few printing processes that doesn’t involve silver meaning it is non-toxic, making it a safe and ideal starting point for teaching children alternative printing processes.


